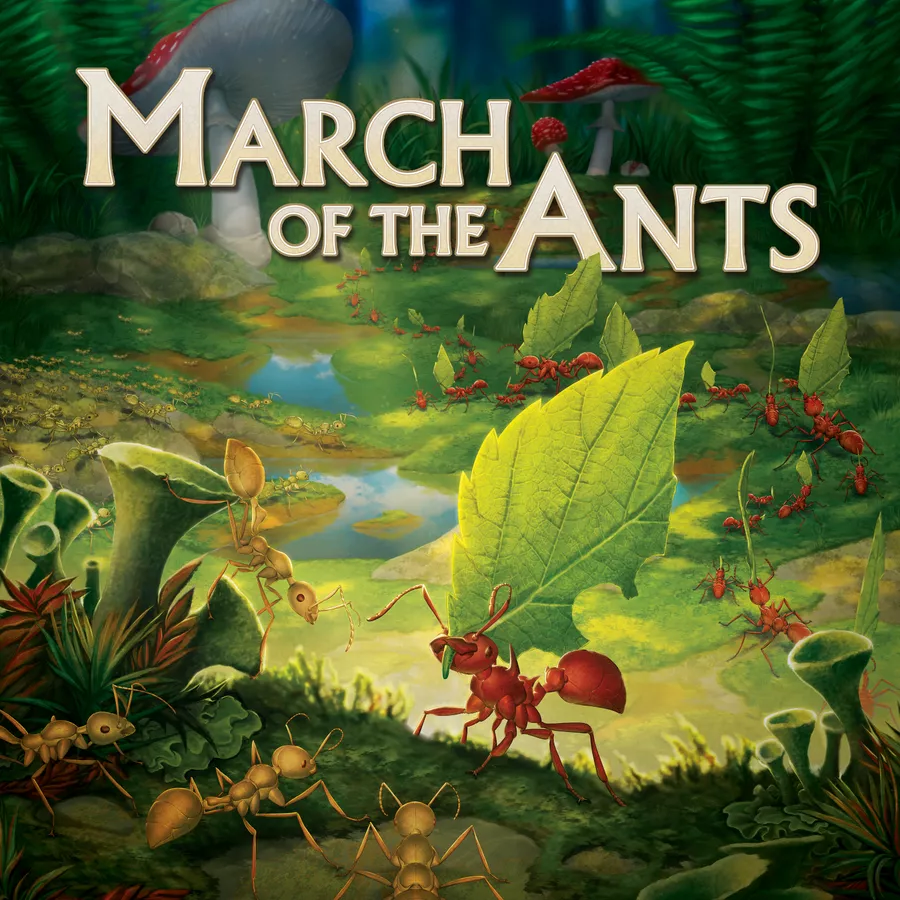
🐜 March of the Ants: Evolved Edition
🃏 Player Aid Card
Round Flow (4 Rounds = 4 Seasons)
Actions at a Glance
| Action | Cost | Effect | Others' Reaction |
|---|---|---|---|
| 🔍 Explore | 1 food | Place hex tile + 1 ant there | Place 1 larva in inhabited hex |
| 🚶 March | 1 food | Move up to 5 steps (+1/thorax) | Move 1 ant 1 step |
| 🃏 Forage | 1 food | Draw 2 cards | Gain 1 larva |
| 🎴 Play Card | Larvae/Ants | Play 1 Event / Evolution / Goal | Discard 1 → Draw 1 |
| 💤 Rest | Free | 1st rest = 1 larva; later = 1 food | — |
Key Numbers
| Starting resources | 5 larvae, 2 food, 2 cards, 1 ant in Great Tunnel |
| March steps | 5 base + 1 per thorax evolution |
| Feeding ratio | 1 food feeds 4 ants + 1 per abdomen evolution |
| Complete ant body | Head + Thorax + Abdomen = 3 CP immediately |
| Royal Decree | 2 food OR 5 larvae (not in final round) |
| Game length | 4 rounds (seasons) |
Card Anatomy — Evolution Body Segments
🏆 Scoring & End Game
Scoring Sources
End-of-Game Bonuses (after Round 4)
| Award | Condition | Points |
|---|---|---|
| 🐛 Largest Brood | Most larvae | 3 CP (tie = 1 CP each) |
| 🍖 Greatest Stores | Most food | 3 CP (tie = 1 CP each) |
| 🃏 Untold Potential | Most cards in hand | 3 CP (tie = 1 CP each) |
Tiebreaker
If tied on total CP → player with the most ants in the Meadow wins.
⚙️ Quick Setup
- Place the Great Tunnel hex in the center of the table.
- Each player takes a Nest Mat and cubes in their color.
- Each player draws 1 random starting hex (gold border), places it connected to the Great Tunnel.
- Each player places 1 ant from supply into the Great Tunnel.
- Each player starts with: 5 larvae in chamber, 2 food in stores, 2 cards in hand.
- Separate centipede-icon cards → set aside (used for centipede battles & solo mode).
- Shuffle remaining cards into the player deck.
- Shuffle hex tiles into a face-down stack.
- Place round marker on Round 1 (Spring).
- Randomly determine start player → give Active Player Marker.
⚠️ Gotchas & Common Mistakes
- Play Card costs larvae/ants, NOT food. Every other action costs 1 food, but playing a card is paid with larvae or ants as shown on the card.
- Rest is free but restricted. You cannot rest as your first action of the round unless you have no cards AND no food.
- Reactions are free. Other players don't pay food for reactions — they happen automatically after the active player's action.
- Only the topmost evolution is active. When you stack a new evolution on a body segment, the old ability is covered. But caste bonuses (+1 per card in column) are cumulative.
- Defender wins ties in battle. The player who controls (inhabits) a collection site in the hex is the defender.
- Winner takes casualties too! Winner loses ants equal to half the loser's strength (rounded down). Don't forget this.
- Contested ≠ Shared. A hex is only contested if 2+ players have ants in the outskirts. If everyone is on collection sites, it's shared — no battle.
- Great Tunnel is safe. No battles ever happen in the Great Tunnel. It's never contested.
- Unfed ants eat larvae first. If you can't feed ants with food, each unfed ant consumes 1 larva. Only if no larvae remain are ants destroyed.
- Royal Decree skipped in final round. In Round 4 (or Rounds 3–4 in Long Game), there is no Royal Decree.
- March moves larvae first. Larvae move from chamber to an inhabited hex, then ants move between connected hexes. Order matters.
- Wormholes connect to ALL wormholes. An ant can move between any two wormhole hexes in a single step — they don't need to be adjacent.
- Colony Goals score EACH Slumber. They're not one-time — if you meet the condition every round, you score every round.
- Complete ant body = immediate 3 CP. As soon as you have at least one card in Head + Thorax + Abdomen, score 3 CP right then. You don't score again for the same body.
👷 Worker Phase — Detailed
Players take turns clockwise. The active player performs 1 action, then each other player may perform a Reaction (free). Play continues until 2 players have rested (3 in 5p).
🔍 Explore (1 food)
- Draw the top hex tile from the stack.
- Place it adjacent to any existing hex — tunnels must connect.
- Place 1 ant from your supply into the new hex.
Reaction: Each other player may place 1 larva from their chamber into any hex they already inhabit.
🚶 March (1 food)
- Larvae first: Move larvae from your chamber to any hex you inhabit (these count as steps).
- Then ants: Move ants between adjacent hexes connected by tunnels.
- Total movement: up to 5 steps + 1 per thorax evolution card.
- Each ant/larva moved 1 hex = 1 step. You can split steps among multiple units.
Reaction: Each other player may move 1 ant 1 step.
🃏 Forage (1 food)
Draw 2 cards from the player deck.
Reaction: Each other player gains 1 larva (placed in their chamber).
🎴 Play a Card (costs larvae/ants — NOT food)
Play 1 card from your hand. Pay its cost in larvae and/or ants as shown on the card.
- Event: One-time effect, then discarded.
- Evolution: Placed on a body segment (Head/Thorax/Abdomen) of your Nest Mat. Stacks on top of existing evolutions.
- Colony Goal: Placed face-up near your Nest Mat. Max 2 active goals at a time.
Reaction: Each other player may discard 1 card to draw 1 card.
💤 Rest (free)
- First rest of the round: Gain 1 larva.
- Each subsequent rest: Gain 1 food.
- You cannot rest as your first action unless you have no cards AND no food.
- Worker Phase ends when 2 players have rested (3 in 5p game).
- The 2nd player to rest becomes the next start player.
⚔️ Soldier Phase — Detailed
Resolve battles in all contested hexes. A hex is contested when it has ants from 2+ players AND at least one player has ants in the outskirts (not on a collection site).
Battle Resolution (5 Stages)
Count your ants in the hex + your Head caste bonus (+1 per Head evolution card in your stack).
Each player in the battle may secretly choose 1 card from hand to discard. All chosen cards are revealed simultaneously. Add the ferocity value (number in top-left of card) to your Army Strength.
Highest total wins. Defender wins ties. (Defender = player who controls/inhabits a collection site in that hex.)
Loser loses ants equal to the winner's total strength.
Winner loses ants equal to half the loser's total strength (rounded down).
Lone Survivor Rule: If casualties would destroy all ants on both sides, the winner keeps 1 ant.
Winner gains 1 CP. Winner may move surviving ants to inhabit any empty collection sites in the hex.
🐛 Centipede Battles
When ants share a hex with a centipede token, battle occurs.
- Centipede flips 2 cards from the centipede deck for its Army Strength (uses ferocity values).
- If ants win: Destroy the centipede token. Gain 1 food + 1 CP.
- If centipede wins: Lose ants equal to the centipede's full strength (not halved).
Multi-Player Hex Battles
If 3+ players are in a contested hex, resolve battles pairwise. The defender (site controller) fights each attacker. Multiple battles may occur in the same hex.
👑 Queen Phase — Detailed
Step 1: Harvest
Collect resources from all collection sites you inhabit across the entire Meadow. Each site shows its resource: food, larvae, cards, or CPs.
Step 2: Feed Ants
Count all your ants on the board (not larvae). Feed them:
| Formula | Base | With Abdomen Evolutions |
|---|---|---|
| 1 food feeds… | 4 ants | 4 + 1 per abdomen card in stack |
Unfed ants:
- Each unfed ant eats 1 larva from your chamber.
- If no larvae remain, unfed ants are destroyed (returned to supply).
Step 3: Royal Decree
Each player chooses one:
- 2 food, OR
- 5 larvae
Step 4: Slumber
- Score 1 CP for each Inner Meadow hex you control (hexes adjacent to the Great Tunnel).
- Score all active Colony Goals that meet their conditions.
- Advance the round marker.
🧬 Evolution & Card Types
Three Card Types
| Type | How It Works | Cost |
|---|---|---|
| 🎴 Event | One-time powerful effect → discarded after use | Larvae/Ants |
| 🧬 Evolution | Permanent ability — placed on a body segment | Larvae/Ants |
| 🎯 Colony Goal | Ongoing scoring condition — checked each Slumber | Larvae/Ants |
Evolution Body Segments
| Segment | Active Ability | Caste Bonus (per card) |
|---|---|---|
| 🧠 Head | Unique combat/control ability (topmost only) | +1 Army Strength per battle |
| 🦵 Thorax | Unique movement/explore ability (topmost only) | +1 March step |
| 🍯 Abdomen | Unique economy/harvest ability (topmost only) | +1 ant fed per food |
Stacking Rules
- New evolutions stack on top of existing ones in the same segment.
- Only the topmost card's ability is active.
- Caste bonuses are cumulative — count ALL cards in the stack, not just the top one.
- Example: 3 Head evolutions = topmost ability active + +3 Army Strength in every battle.
Complete Ant Body
When you have at least 1 evolution in all three segments (Head + Thorax + Abdomen), you immediately score 3 CP. This is a one-time bonus per body completion.
Cards as Ferocity
Every card has a ferocity value (top-left corner). During battle, you may secretly discard a card to add its ferocity to your Army Strength. This creates tension: play cards for abilities or save them for combat?
Notable Evolution Cards
| Card | Segment | Key Effect |
|---|---|---|
| Acrobat Head | 🧠 | Move ants during Soldier Phase (may change contested status) |
| Amazon Head | 🧠 | Gain 2 larvae when winning a battle |
| Armored Head | 🧠 | Reduce casualties by 1 |
| Blasting Head | 🧠 | Destroy any player's ants in a hex (may prevent battle) |
| Trapjaw Head | 🧠 | Gain 1 CP per hex you battle in |
| Traitorous Head | 🧠 | Gain 1 CP per centipede in Meadow each Soldier Phase |
| Flying Thorax | 🦵 | Move ants to any hex (not just adjacent) |
| Tunneling Thorax | 🦵 | Move between adjacent hexes ignoring tunnel connections |
| Scouting Thorax | 🦵 | Look at hex before placing when exploring |
| Weaver Thorax | 🦵 | Opponents can't move ants OUT of hexes you inhabit |
| Red Harvester Thorax | 🦵 | Gain 1 larva from each larva site after exploring |
| Honeypot Abdomen | 🍯 | Collect twice from one collection site during Harvest |
| Leaf Cutter Abdomen | 🍯 | Convert any collection site to food during Harvest |
| Carpenter Abdomen | 🍯 | Move ants after Harvest (can enter centipede hexes) |
| Thief Abdomen | 🍯 | Increase opponents' feeding cost by 1; reduce yours by 1 per opponent |
🗺️ Hex & Map Rules
Hex Anatomy
Each hex tile may contain:
- Collection sites — spaces that produce resources (food, larvae, cards, or CPs) during Harvest.
- Outskirts — the area outside collection sites. Ants here don't collect resources.
- Tunnel connections — edges that connect to adjacent hexes for movement.
- Special icons — centipedes, wormholes, or unique effects.
Inhabiting & Controlling
- Place an ant ON a collection site to inhabit it → collect its resource during Harvest.
- The player inhabiting a site is the controller/defender in battles.
- Multiple players can inhabit different sites on the same hex (shared hex).
Contested vs. Shared
| Status | Condition | Battle? |
|---|---|---|
| Contested | 2+ players present AND at least 1 player has ants in outskirts | Yes — Soldier Phase |
| Shared | 2+ players inhabiting sites, no ants in outskirts | No battle |
| Controlled | Only 1 player present | No battle |
The Great Tunnel
- Central hex where all players start.
- Never contested — no battles ever occur here.
- All hexes connect to it. It's the hub of the tunnel network.
Inner Meadow
Hexes adjacent to the Great Tunnel. These score 1 CP each during every Slumber phase. The most valuable real estate on the board.
Wormholes
- Some hexes contain wormhole tokens.
- Ants can move between any two wormhole hexes in a single step — they don't need to be adjacent.
- Max 1 wormhole per hex.
Centipede Tokens
- Some hexes spawn centipede tokens when explored.
- Centipedes block collection sites and trigger battles.
- Defeating a centipede: gain 1 food + 1 CP, remove the token.
🎯 Colony Goals
How Colony Goals Work
- Played as an action during the Worker Phase (costs larvae/ants, not food).
- Maximum 2 Colony Goals active at a time per player.
- Scored during each Slumber — if you meet the condition, you gain the CP.
- Goals are ongoing — they score every round you qualify, not just once.
Known Colony Goal Cards
| Goal | Condition / Notes |
|---|---|
| Bound to the Past | Most ants in the Great Tunnel. No points if tied. |
| Epic Stores | More food than both neighbors (left & right). No points if tied. |
| Grand Evolution | More evolution cards than both neighbors. No points if tied. |
| Unending Brood | More larvae than both neighbors. No points if tied. |
| Eyeless Overlords | Related to wormhole control. Max 1 wormhole per hex. |
| Outlander | Rewards presence in distant hexes. Moving ant is optional. |
| Nurturing Hive | Rewards inhabiting single-larva collection sites. Moving ant is optional. |
| Xenophobic Tribe | Place larvae from chamber when conditions met. Must have larvae available. |
🧑 Solo Mode — Rise of the Centipedes
A solitaire (or cooperative) mode where you battle an invading Centipede Horde overrunning the Meadow. You must defend the Great Tunnel.
Setup Changes
- Use the reverse side of the Great Tunnel.
- Remove centipede-icon cards → shuffle into a separate Centipede Deck.
- Start with 1 random starting hex with 3 ants, 3 larvae, 2 food, 4 cards.
Centipede Actions
After each of your turns in the Worker Phase, reveal 1 card from the Centipede Deck:
| Card Type Revealed | Centipede Action |
|---|---|
| 🧬 Evolution | Invade: Place a centipede on the highest-numbered hex without one. If all hexes full → centipede enters Great Tunnel. |
| 🎴 Event | Advance: Centipede on lowest-numbered hex jumps toward lower numbers (# of jumps = card value). If no lower hex → enters Great Tunnel. |
| 🎯 Colony Goal | Rampage: Centipede battle in EVERY hex with both ants and a centipede. Each centipede gets +1 Army Strength during Rampage. |
Centipede Sentry
If an Event card is revealed but no centipedes exist to move: explore a new hex anywhere in the Meadow and place a centipede on it. If that hex has a centipede icon, reveal another centipede card.
Combat Differences
- After taking a March action, you may initiate a centipede battle in one hex.
- Centipedes draw from the Centipede Deck for Army Strength.
Scoring & Winning
- Centipede Horde gains CP: each Slumber (per centipede in Meadow + Great Tunnel), each battle won, each Great Tunnel entry.
- No end-of-game bonuses for most food/larvae/cards.
- If the Horde's CP exceeds yours at game end → you lose.
Difficulty Levels
| Easy | Start with 3 additional larvae in your chamber |
| Normal | Standard solo setup (3 ants, 3 larvae, 2 food, 4 cards) |
| Hard | Start with only 2 cards in hand (instead of 4) |
Worker Phase End (Solo)
After you rest, the Centipede reveals 1 final card, then the Worker Phase ends.
👥 2-Player Variant
Setup Changes
- Use the reverse side of the Great Tunnel.
- Each player takes 2 random unused starting hexes → choose 1 to place connected to the Great Tunnel.
- Start with 3 ants in the placed hex, 3 larvae, 2 food, 2 cards.
Resting (2-Player)
After one player rests, the other player gets one final turn (any action, including rest). That player keeps the Active Player Marker and becomes the Starting Player next round.
Inner Meadow Scoring
Inner Meadow hexes must be connected by tunnels to the Great Tunnel to score during Slumber. (In 3-5 player games, adjacency alone is sufficient.)
Colony Goals
"Neighbor" goals compare only to the other player (since you each have only 1 neighbor).
👥 5-Player Variant
Setup
Include all 8 starting hex tiles.
Reactions
Only your immediate neighbors (players to your left and right) may take Reactions to your actions. Card effects that target "all players" still affect everyone.
Resting
Worker Phase continues until 3 players rest (instead of 2). The 3rd player to rest becomes the next Starting Player.
📏 Long Game & Beyond the Meadow
Long Game Variant
- Play 5 rounds instead of 4.
- No Royal Decree in Rounds 3 and 4 (only Rounds 1, 2, and 5 have it — wait, Round 5 is the final round so no Royal Decree there either).
Beyond the Meadow Variant
Special hex tiles numbered #21–25 with unique effects.
- Before the game, shuffle these special hexes and randomly add 2–3 into the hex tile stack.
- These hexes have powerful or unusual effects that change the game dynamics.
- Can be combined with any other variant.